IV bags caps inside & outside inspection
Case History Chengdu Ke Jiang science and Technology
Inside inspection
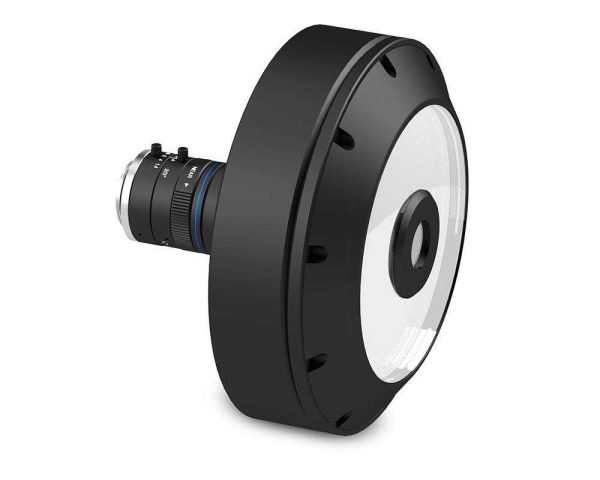
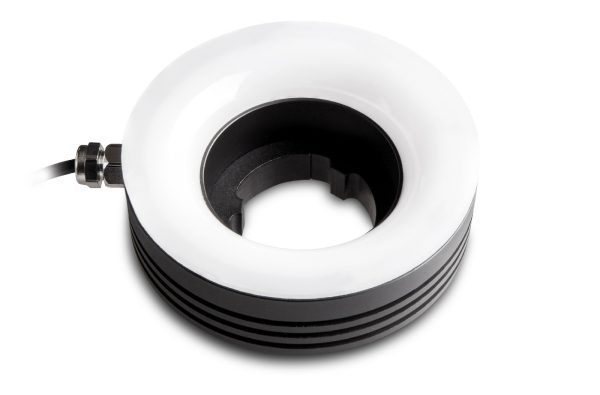
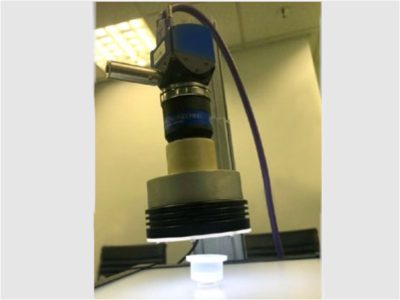
The first inspection looks for defects on the inner walls of the cap. The natural suggestion in terms of optics is one of the lenses from the PCHI SERIES. A 1⁄2” sensor is a good tradeoff between resolution and speed. PCHI lenses come with a standard low angle ring light from the LTRN series. The setup for this first test is the following (Figure 1)
- PCH012, Hole inspection optics for 1/2” detectors
- LTRN075W45, Ring LED illuminator, inner diameter 28 mm, oblique type, white
- RT-mvBF3-2032G, CMOS camera USB3, 2064 x 1544 gray, 1/1.8”, 119 Hz, IR cut, C-mount
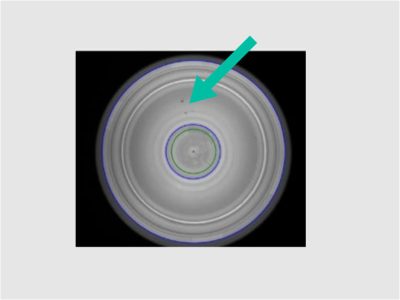
The PCHI solution works perfectly with the low angle ring light, providing high contrast on the defects clearly visible alongside the inner walls (Figure 2).
Outside inspection
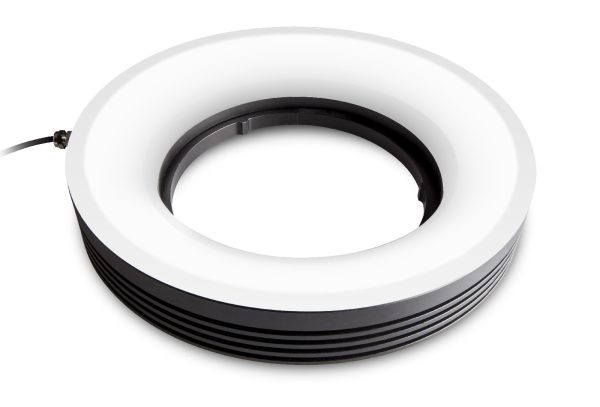
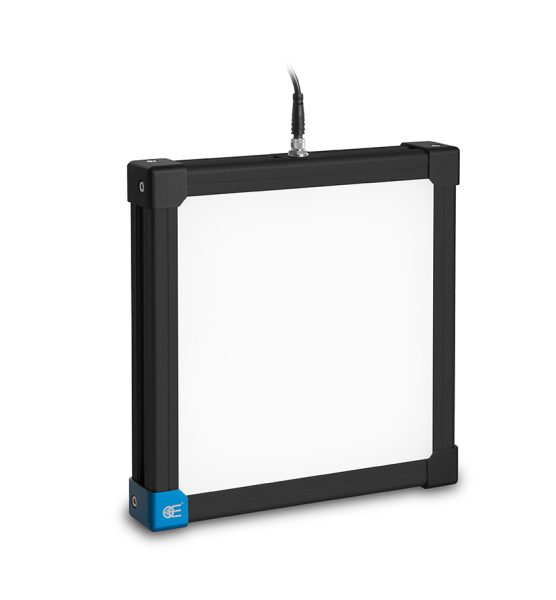
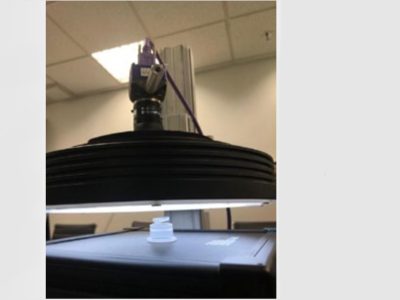
The second inspection looks for defects on the outer walls of the cap. The dimensions of the cap are suitable for many of the 360° OPTICS in Opto Engineering offer, but the best choice is a lens from the PCCD SERIES because of their reduced dimensions and weight. The setup for this second test is the following (Figure 3)
- PCCD012, wide lateral viewing angle catadioptric lens, for 1/2” detectors
- LTRN245W35, Ring LED illuminator, inner diameter 148 mm, oblique type, white
- LTBC174174-W, Continuos LED backlight, 174x174 illumination area, white (optional)
- RT-mvBF3-2032G, CMOS camera USB3, 2064 x 1544 gray, 1/1.8”, 119 Hz, IR cut, C-mount
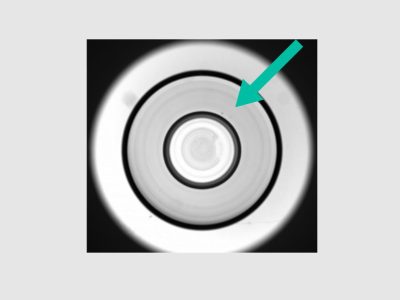
The results are encouraging, especially with a bright background provided by the LTBC backlight. Using PCCD also for outside inspection provides a lot of additional information, e.g. concerning geometric features of the part (cf. Figure 4).
Why Opto Engineering®?
The study proves the possibility to efficiently perform a complete quality check of the samples. The proposed solutions for each step of the process allow to reduce costs and time consumption, a paramount aspect in every industrial application. This is particularly true in this case since the required throughput is extremely high (25000 caps per hour). Opto Engineering® could provide all the machine vision components necessary to perform this task with its wide product portfolio. Furthermore, thanks to a global net of equipped vision laboratories, it is possible to take advantage of a technical support team that helps to choose and implement the best possible solution for any machine vision task.

